06 May 2013

Wicked Alice


 Wicked Alice


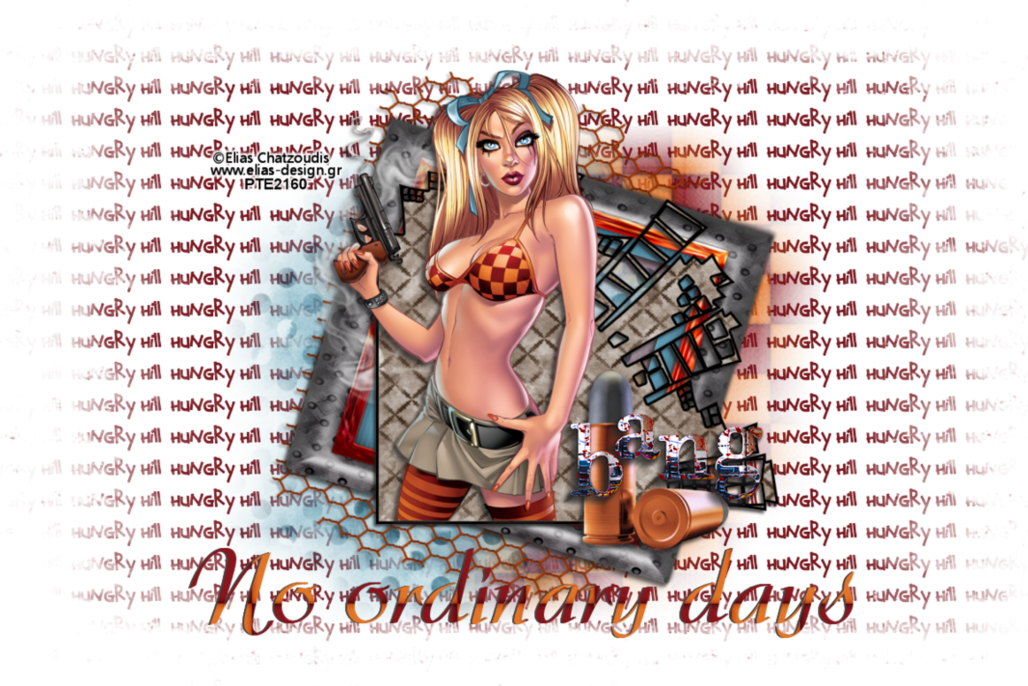
            I am using the amazing artwork of Elias Chatzoudis
        You can purchase it here: Elias
               Scrapkit "Go Ask Alice" by HungryHill
                 You can purchase it here: Treasured Scraps
            Mask and Font of choice


1. Open new image 500 X 500
2. Copy and paste moon. Resize to your liking and place in the middle of your image
3. Floodfill with paper-7. Load mask of choice and merge group
4. Floodfill with paper-12. Load mask of choice and merge group
5. Copy and paste falling hearts.
6. Copy and paste sparkle. Resize to your liking or leave orginal size
7. Copy and paste stem. Resize to your liking and place on the left side of your image
8. Copy and paste flower-1. Resize to your liking and place over the stem layer with the stem higher then the flower layer
9. Copy and paste WA-1. Resize to your liking and place in the upper right hand corner of your image
10. Copy and paste chesspiece-2. Resize to your liking and place in the lower right hand corner of your image
11. Copy and paste chesspiece-1. Resize to your liking and place next to Chesspiece-2.
12. Copy and paste teapot. Resize to your liking and rotate 15 degrees to the right and place in front of your chesspieces
13. Copy and paste teacup. Resize to your liking and place next to your teapot
14. Copy and paste watch. Resize to your liking and place in front of your flower and stem layers
15. Copy and paste flutterby. Resize to your liking and Mirror. Then place just under your WA
16. Copy and paste tube of your choice. Resize to your liking and place in the middle of your image
17. Add your copyright info and text
18. Merge visible and save


That's it..... I hope you have enjoyed my tutorial. If you have any questions please
feel free to leave a message in the Chatbox.

    This tutorial was written April 2013 by me(Koolbrat) any similarities to another is just a coincidence.

24 April 2013

New Tutorial using "Always" by HungryHill


Forever


             I used the wonderful artwork of Nene Thomas.
                  I used this artwork with her permission
                 You can purchase his work here: Nene
                 Scrapkit "Always" by HungryHill.
                You can purchase it here: Mystical Scraps
                            Mask and Font of choice


1. Open new image 500 X 500
2. Floodfill with paper2. Load mask of your choice and merge group
3. Add new layer and floodfill with paper4. Load mask of your choice and merge group
4. Copy and paste willow and resize to your liking... Place in the middle of your image
5. Copy and paste well and resize to your liking. Place on the left hand side of your image
6. Copy and paste watering can. Resize to your liking and place so that it looks like it is sitting on the edge of your well
7. Copy and paste flower vine. Resize to your liking and place at the top of your well where the two parts of the roof
come together
8. Copy and paste flutterby1. Resize to your liking and place on the right hand side of your well so that it looks like it is sitting on the roof
9. Copy and paste flowerpot. Resize to your liking and place on the right hand side of your well so that it looks like it is
sitting right in front of it
10. Copy and paste flutterby3. Resize to your liking and place so that it looks like it is sitting on one of the branches of the willow tree
11.  Copy and paste grass. Resize to your liking and place in front of your well
12. Copy and paste tulip4. Resize and place in the gras to your liking
13. Repeat step 12 just change to tulip3
14. Repeat step 12 with tulip2
15. Repeat step 12 with tulip1
16. Copy and paste bench. Resize it to your liking and place on the right hand side of your image
17. Copy and paste leafborder. Resize to your liking and place so that it looks like it is covering the back of your bench.
18. Duplicate your leafborder. Go Image mirror and place on the other side of your bench.
19. Place your tube
20. Add your copyright info and text
21. Merge visible and save


That's it..... I hope you have enjoyed my tutorial. If you have any questions please
feel free to leave a message in the Chatbox.

    This tutorial was written June 2013 by me(Koolbrat) any similarities to another is just a coincidence.

FTU Cluster Frames using "Always" by HungryHill


FTU Cluster Frames using "Always" by HungryHill.... You can download them Here